
Now that the poll is closed, the result is clear too. The name for my little hopper is:
CHARON - ferryman in the underworld.
Thanks for voting.
I continued with the rotors by starting to build the actual housing. So first I built the supports holding the two rings.

Once the two rings were mounted, I wrapped .5mm plasticard around it.

I think they now look massive enough.

Then I experimented with the actual mounting of the rotors.
This would be the parking position in the hangar.

Fly position, giving forward thrust.

And hover/lift position.

Next I started to build the actual mounts.
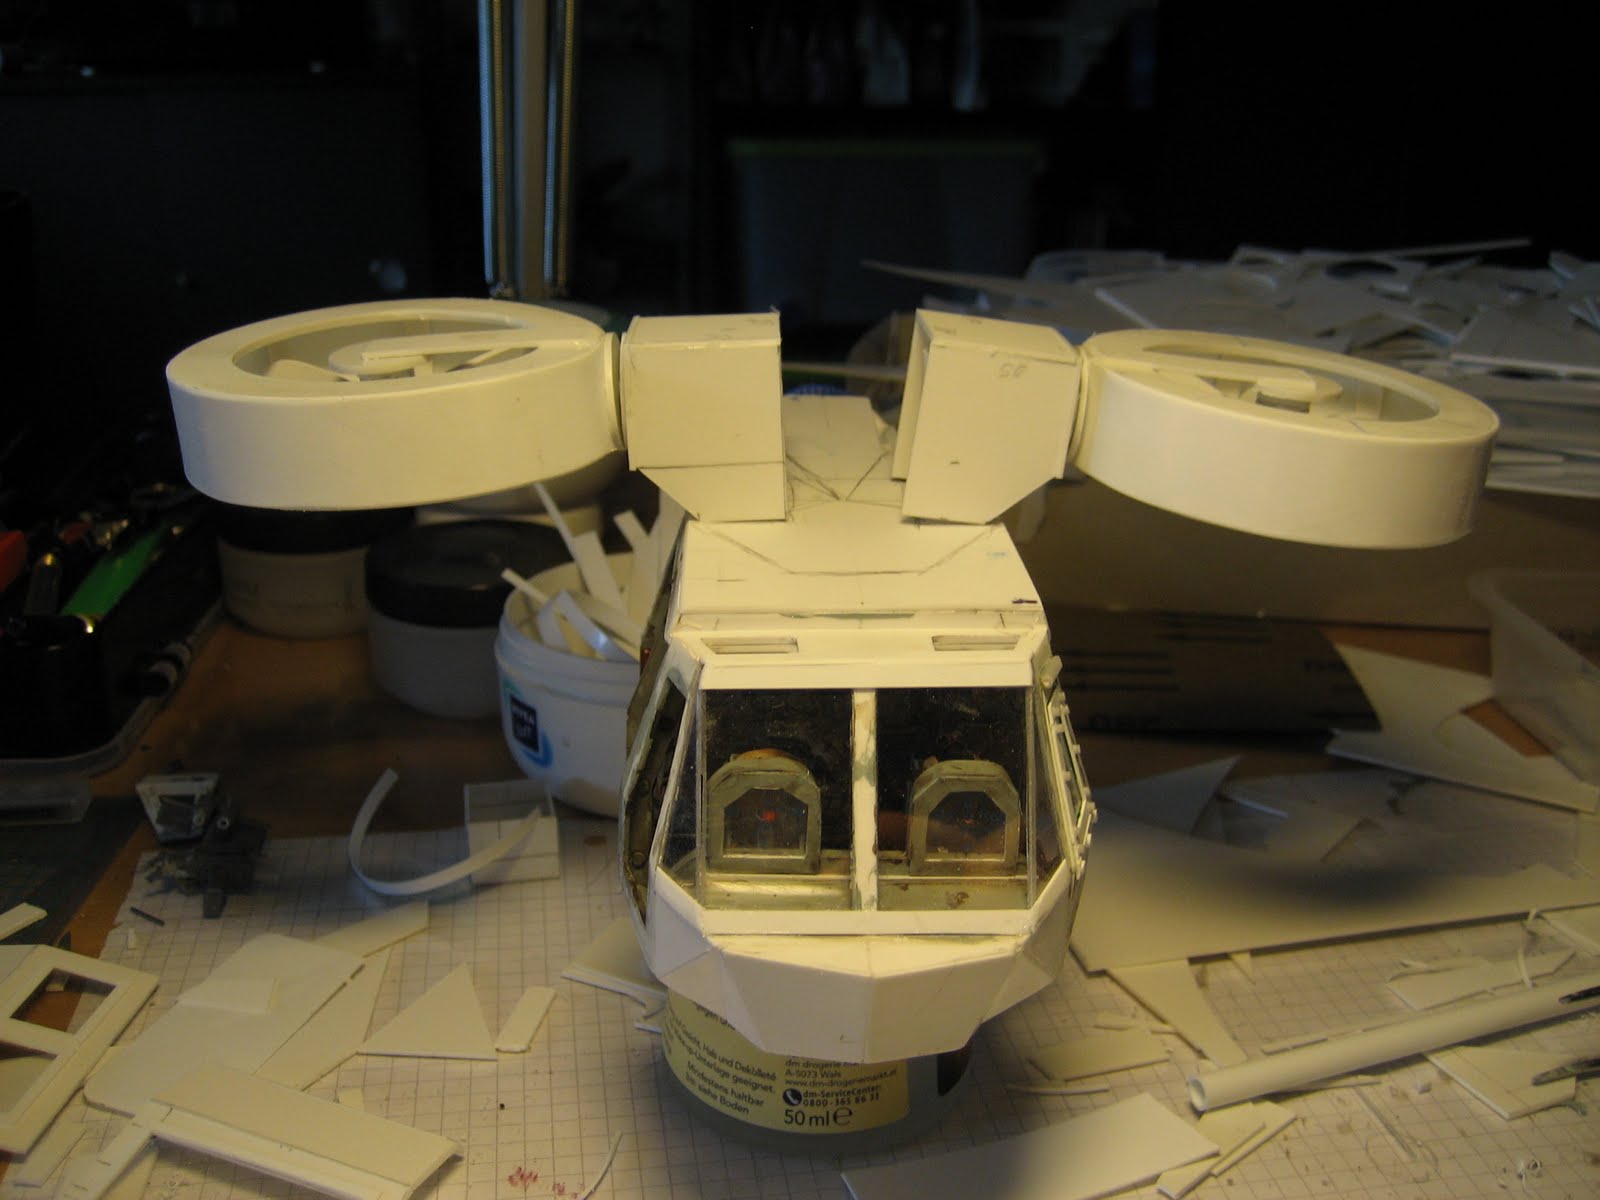
Looking good and massive.


And rotatable into all desired positions.


But I think this is just too massive, too high :(

So I started again, building a smaller, lower rotor mount.

This looks far more in harmony with the rest of the bird.

Next was the integration and building a housing around it.


After I was satisfied with the look of the housing, I started to detail the rotor mounts.

And together they look like this on the CHARON.
Lift off

In flight.

In flight.

Then I had to build the rear part of the housing.

Still allowing all desired positions.


Then I experimented with a instruments box - something like the FLIR (Forward Looking Infra-Red) system.

What do you think? Is it looking good there? Should I try it somewhere else?


Next on the schedule was the rear fusselage with the fins.

They are relatively easy and plain - no rudders or flaps needed.


Comes togehter nicely I think :)


Being satisfied with the looks so far, I checked into the doors again.
How would it look with the doors opened to the rear?


Since I'm not sure yet, I leave them off for the time being.
So I worked on the waepons systems, adding a rocket pod (for the actual build, see the previous post)

And an Auto-Cannon for the other side.

And an Auto-Cannon for the other side.

:D

And finally I started to build some skids for the CHARON.


This ends this weekends post :)
I hope you like it.
C&C welcome and apreciated.
Cheers
Klaus


