
Hi all you patient followers and readers,
I think today is one of the last build posts for the ATHENA!
I'm sure that she's now 95% complete and all that is left are some gaps and then millions of rivets :)
But I still owe you some work in progress updates.
Last I asked what some of you would think if I added wooden planks to the rear deck, and if the carved plastic card I had made was good enough for this purpose.
Well, the response was in unison in favour of the idea :)

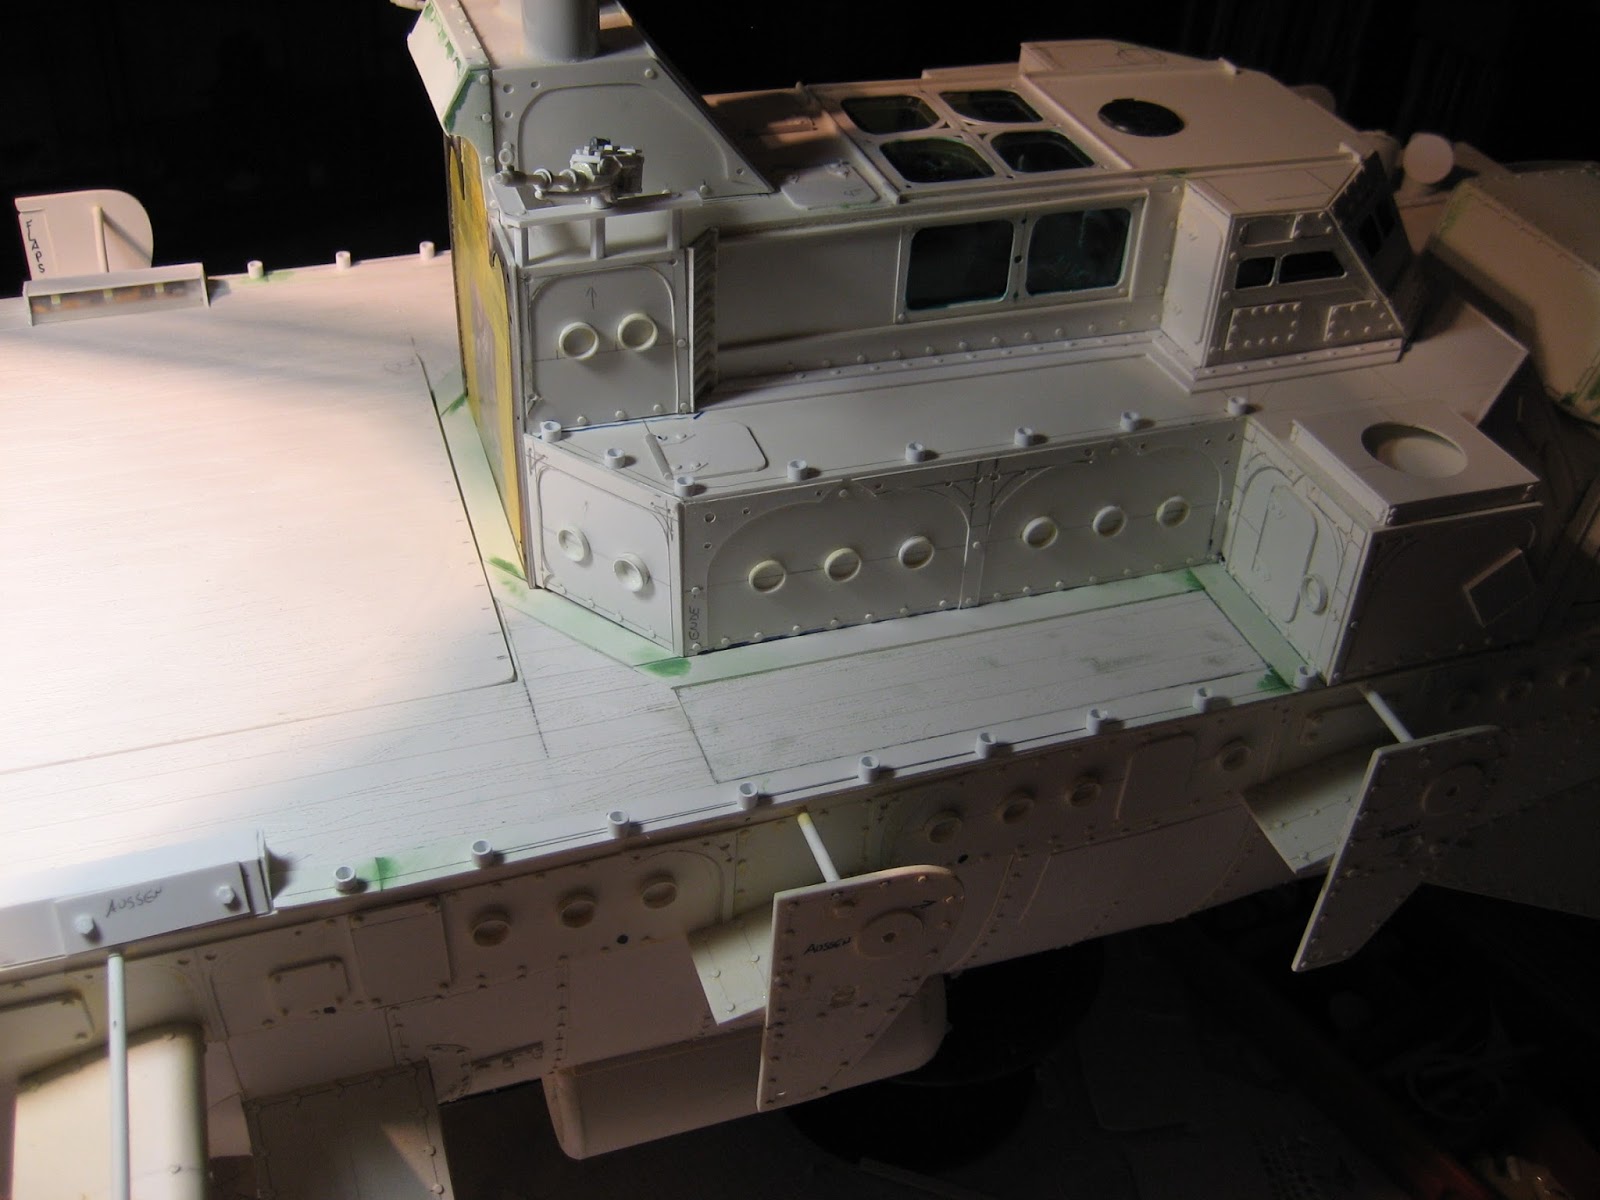
So I cut some .7mm wide PC strips as framework on the deck

It also serves to keep the bridge section in position (remember it is removable)

Some gap filling with green putty,

and then I started with the wood PC.

Here the first sections are glued in position.

Detail shot of the "wood"


I can tell you, carving the wood pattern is kind of meditation :)
I did it while watching the Formula One race in Hungary.
I did it while watching the Formula One race in Hungary.

The wood sections on deck.

and also for the actual landing platform/elevator piece.

With the deck sections it looks just great :)

As Eyescream on WIP suggested I definitely need some railings to keep my drunken sailors on board :D
This build was a bit fiddly, as I couldn't glue it in place (it has to be removable for painting)


But once the top railing was glued onto the wooden posts it got very sturdy.

The upper railing with the corner was a challenge - I cursed a LOT

But now that it's complete I am absolutely proud of it!


As said, the sections are removable :)

Then I had to add "a few" rivets :P

Top view

Side shot

The next to last item on the to-do-list was this access ramp on the underside of the body


And the final item was the support frame for the lower gondola


It now keeps everything aligned and in position.
Well, that's it!
Oh, well, I have a "little" video of her again:
(Upload should be completed in the next hour)
And now its
RIVETS, RIVETS, RIVETS
and a bit of gap filling and
RIVETS, RIVETS, RIVETS
and then some
RIVETS
:)
I hope you like it.
I'm all with Atreides that its a funny moment, realizing that this project is coming to an end.
Its with one crying eye that I look at her.
But hey, I'll have plenty of hours painting her ahead of me :)
Cheers
Klaus


