Hi all,
beware of a 40 images update :)
I hope you are all fine and are now back into a normal working pattern and you're all OK.
I used my last vacation days as much as possible, so this is a rather big update.
Continuing from the last update I mounted the last rear wheel and then started to mount the front wheels
As mentioned I needed to build a different mount to allow steering.
My solution is relatively crude and simple
but it works :)
And so the ALALA is now wheeled
and ready for completion.
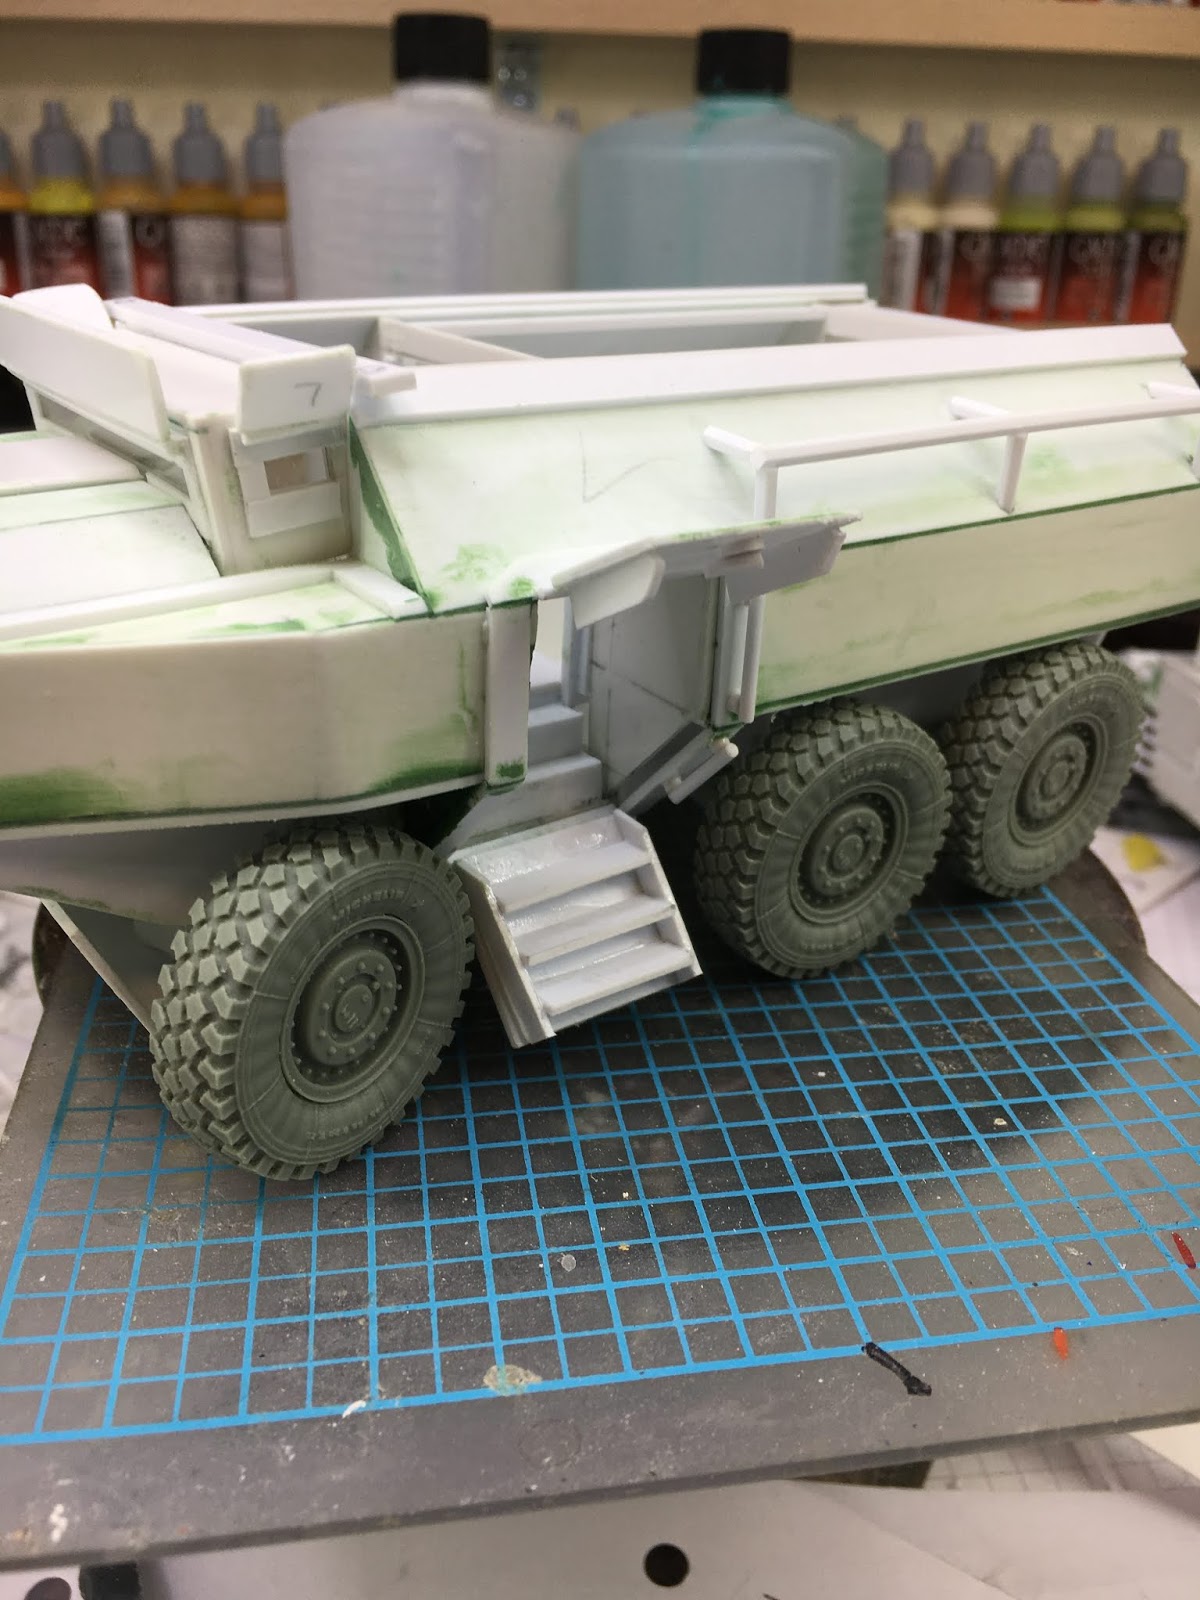
To protect the front axle I added another armor plate
Next was then the first side door
In the diorama it will be open
so I added steps to it
and made sure it can still be closed.
Then I added a frame around it
and repeated everything on the other side.
With the side doors completed I started the rear ramp
This will also be open in the diorama.
The following evening I sanded the doors and frames.
For the drivers cabin I had to include the windows
I'm not sure if it will ever be visible that there is clear plastic...especially after adding the armor shutters.
Since I didn't really fancy the large armor plate for the front, I replaced the steering protection with a smaller armor plate
I think this looks better now
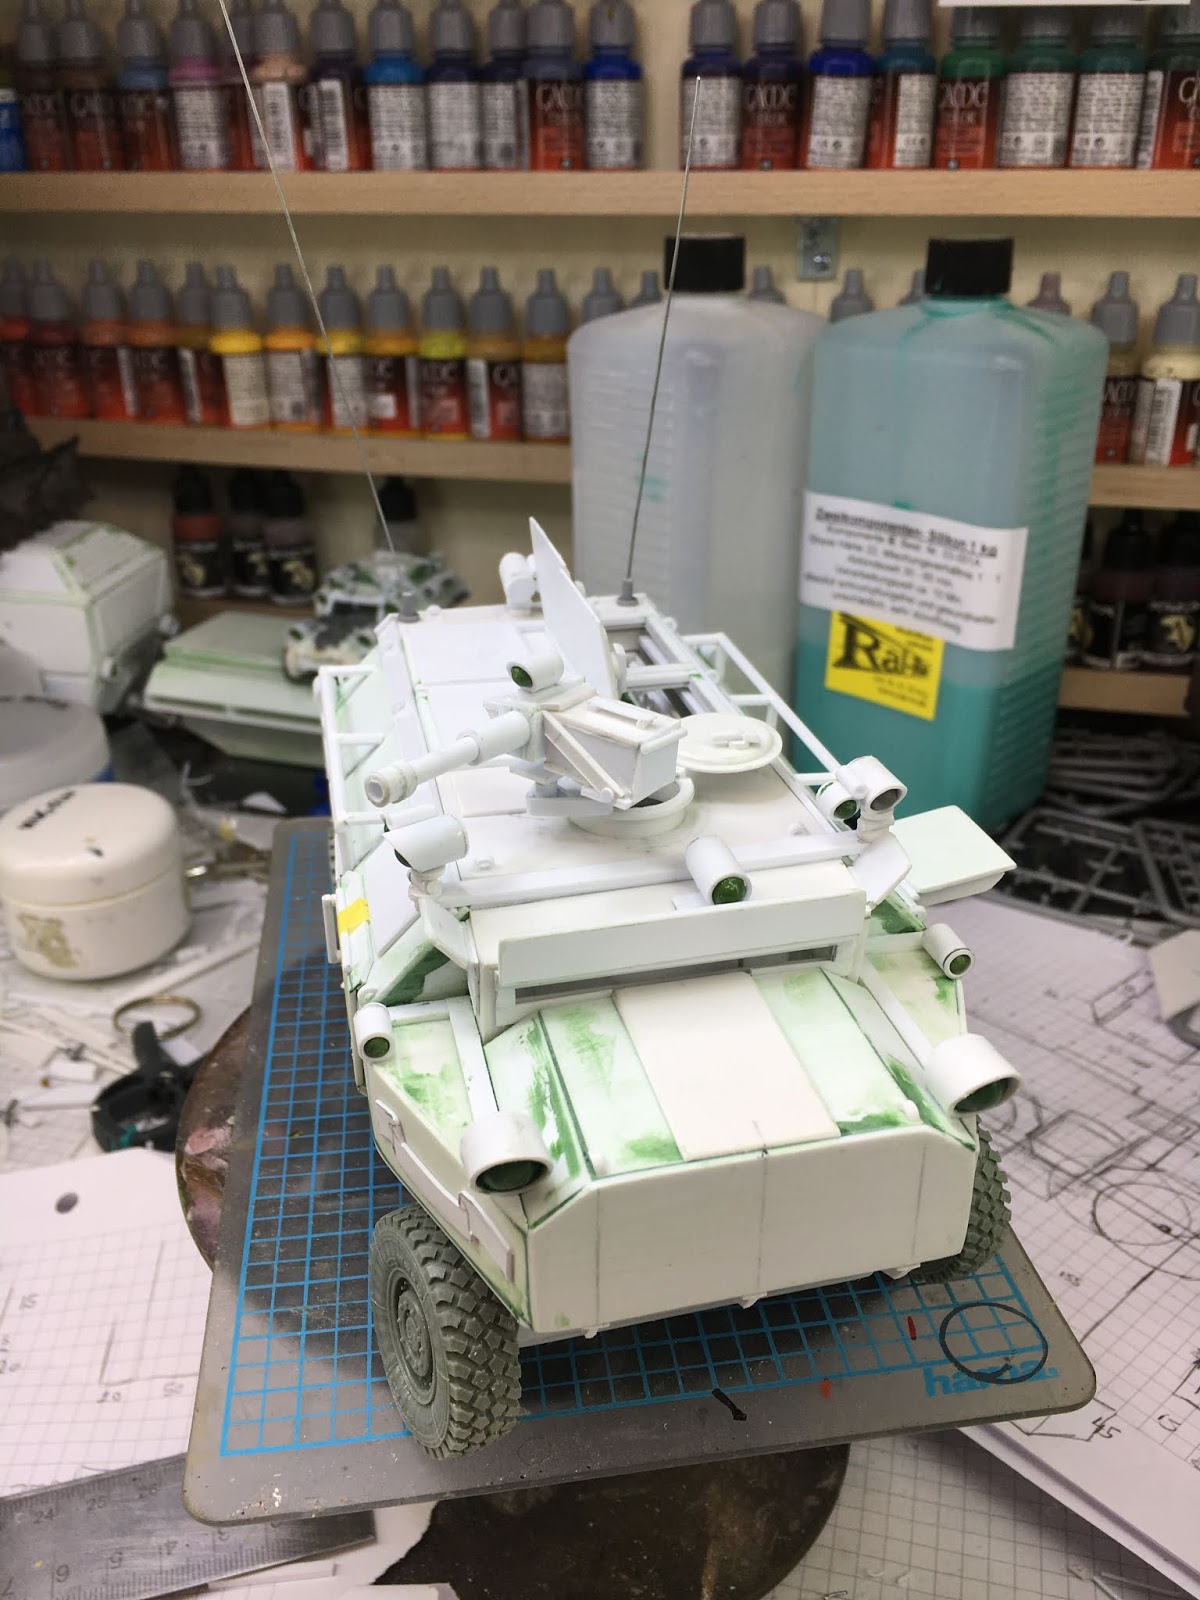
Even though the ALALA has large storage compartments on the inside, I still added storage racks to the outside
They just add a bit more flavor - especially once equipment will be stored in them
The following evening I began to build the armament for the ALALA.
Instead of a MG it will be armed with a Automatic Grenade launcher (AGL), like the US Mk19.
The mount is a bit stronger than for the MG
Since some of you were asking for more build images when I did the MG, here are some images of the AGL build.
First I glued some sheets of plastic card together (5x15mm)
For the barrel I wanted to have a muzzle break, and since the next bigger piece of pipe would be to thick, I wrapped a thin strip of .25mm plastic card around it.
Just 2 or 3 layers are enough
and for decoration another, thinner strip
Barrel and muzzle break
Once the sheets for the base block were cured I sanded them down to a nice solid block
and started to add some details
and built an ammo box for the grenades
together with a mount
Fits nicely to the ALALA
It still needs the handle/trigger section, but that will most likely come with the gunner/trooper manning it.
Compared to the MG you can see the larger ammo box and thicker barrel
Finally it received a sight.
The following evening I added the locks for the troop hatches
and started to build the headlights
The gunners position got its hatch
and the side doors got handles and openers
And this is as far as I got :)
I hope you like the update and look forward to your feedback, comments and suggestions.
Cheers
Klaus