
@Lord Gordon and Kevin Spyrle - yes, I agree the explosion in its current location and the interaction of the troops doesn't look right. I will experiment some more with it...
@Chris Unrath - well actually I want to keep the scene focused to the front - so no real 360° perimeter, rather a disembark into the face of the enemy, with the APC providing fire support, and keep everything in one direction.
@Malevengion - Hmm, battle standard...actually a good idea, but none of the current troopers could take it, and adding another character would crowd it up too much.
I should've thought about this before. But maybe there will be a chance to sneak it in :)
@Kevin Spyrle - the idea was to have them drive straight into action, disembark into the face of the enemy and with the fire support of the PONOS slug it out.
But hey, why no not an ambush, with a mine that breaks the left track (the one not yet completed) and then they are attacked by the Orks?
Probably not as superior/confident as initially planned, but why not? Thanks I will consider it going forward :)
Thanks for your C&C.
To continue the diorama I went through the "heads" box and selected these 11 (plus 3 alternative) heads.

For the helmets I'm considering to use the standard Dencara Guards model (though I'm not sure if I will give the troopers the longer jackets too).
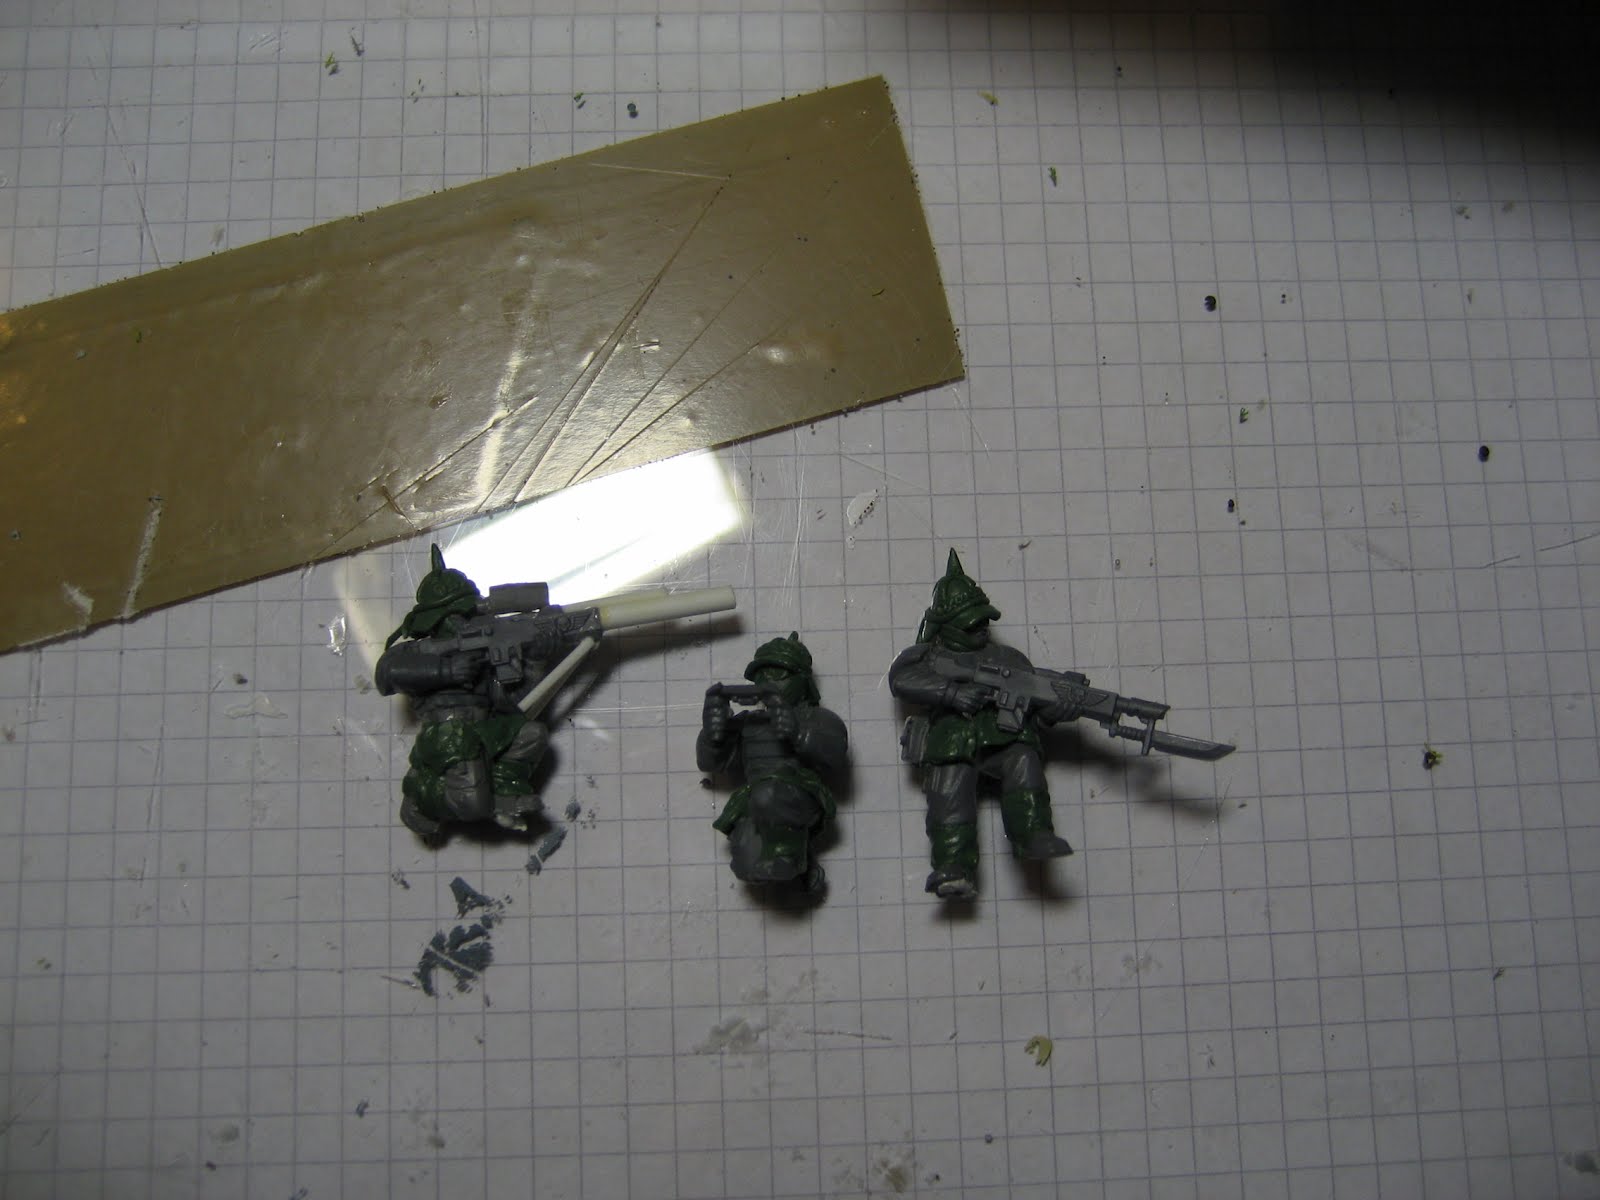
The first head to work on is the (Platoon) Leader, for this I selected the helmeted head with the cigar from the IG Command Squad sprue and carefully shaved the helmet off.

Then I mounted it on a rod, so I can work with it more easy.

After some major cleanup I added a barret and a nice steampunky mustache :)

Still need to add the ears, an insignia for the baret etc.

While the head cured I cleaned up some of the gaps on the body - like the wrist on the power fist, index finger and thumb, gaps in the boots from re-angeling the feet, plus the start of the shoulder pad.

Several readers asked about the small explosions and how they are done.
Since I had some PC left last night, here a quick step by step.
First I make a small ball of PC/GS and place it on the soda cap.
First I make a small ball of PC/GS and place it on the soda cap.

With my pointed needle tool I press down the outlines, fixing the ball firmly to the surface.

Then I scratch/pull pieces of the PC/GS with the needle tool down

And finally I use an old pincer...

I wet the points and then grab pieces of the PC/GS and carefully pull it out.

Unfortunately the PC/GS was already a while mixed, close to curing so I couldn't pull it as good or as far as normally possible.


On the second one I also used the needle tool again on the inside, to give it some more structure.

But all-in-all real simple and easy :)
As said above I'm not really happy with the large explosion.
Though I don't really need it, here is a last try:

What do you think? Better? Or rather leave it off?
Again, thanks for your time and I hope you enjoyed todays update. Your C&C is welcome.
Cheers
Klaus